Showing posts with label Maps. Show all posts

Sunday, February 28, 2021

My Current Map Sketch Process


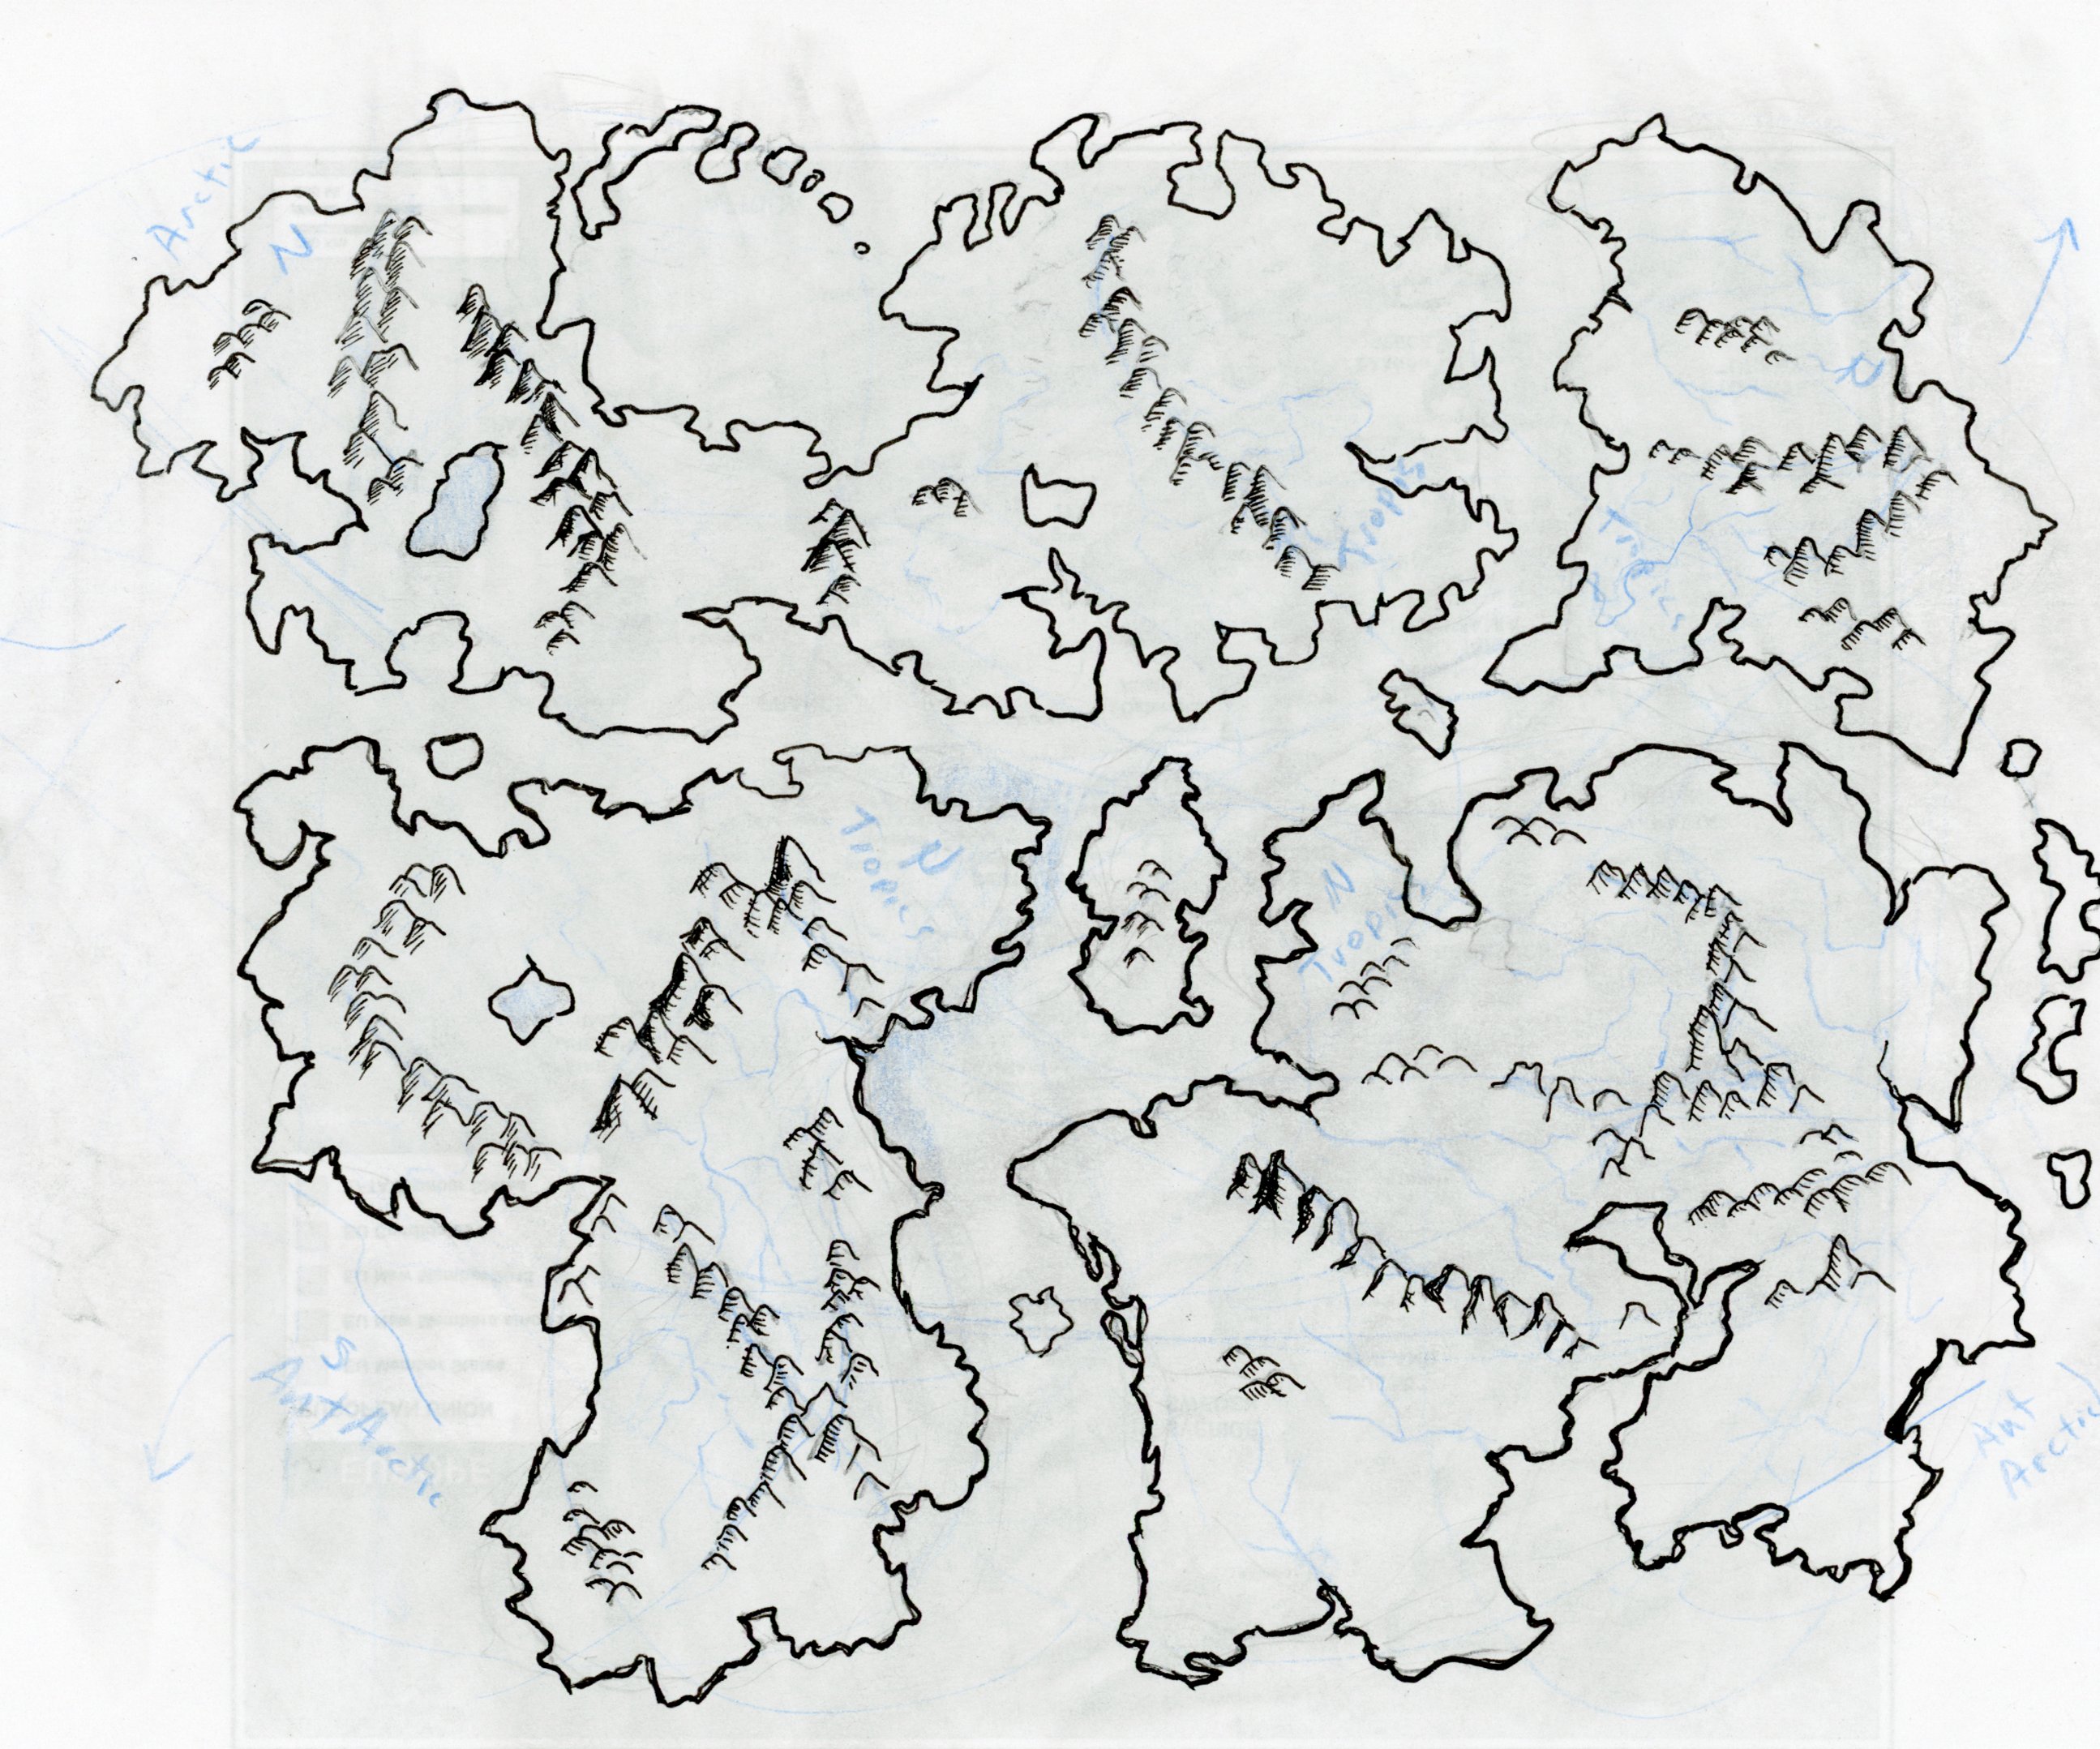
In this post I will describe the process I am currently using to draw maps. I started with a Pangea type supercontinent for my world as follows. I decided that this would split apart and rotate indicated by the blue arrows. I indicated tropical and arctic regions for the continents.

Next I redrew them one at a time adding more detail and modifying the land masses a little since this is after many millennia.

Next I divided the map into a number of smaller parts to zoom in on.


Next I draw this region at high magnification. First I rough it in with colored pencil, blue for water, olive green for the edges of the hills. This is from the north side of the lake. Then I go over the edges of the water with a pencil and rough it in for example the small island on the right. Next I go over the pencil with a fine marker. I am leaving many gaps along the way as shown on the peninsula in the center. Then I can add more detail as shown in the shore on the left. Sometimes I may just connect the shore and leave it smooth. These gaps are also helpful if a river needs to connect to the shore or if you need to put docks or a city next to the shore. Next I look for a good spot for a city. When I want to put a city in I use a triangle to add some vertical lines and some 30 degree lines so I can draw an isometric city. The vertical lines are supposed to help my towers from looking crooked. 


Next I add more detail to the shore line. Look for natural structures and add small lines to make them look more like three dimensional objects. Choose a direction for the sun, mine is usually above and to the right, and use a larger marker to outline the opposite edges, for mine it is the bottom right edge of the shores, for kind of a drop shadow. Add some waves along the water. Next use a dark olive green to create some structure for the shoreline. I try to make it look kind of like hills or streambeds. Then color this in with light olive green. Finally I go over anything close to the water with a brighter green color. Usually I don't start coloring until all of the pen work is finished.

For cliffs start with a jagged line. Think in terms of isometric shapes and be sure to add quite a few zig-zags. Then draw lines coming down from the cliffs. Keep adding more lines and curve outward a bit, put in a few vertical jogs. Color in shadows with a dark brown in the corners of the cliffs. Add some color to the cliffs, purple, brick red, brownish orange, dark yellow, grey etc. Go over with a light yellow or white to burnish them in if you want.


For trees I start with fluffy clouds. Add about enough gap for coloring. Color the top edge light green and the bottom edge dark green. Fill in with a bluish green along the top edge and color with a nice tree green over the whole thing. Finally add some shadows below and to the right with dark green to make the trees look more like hills.

For the river draw single jagged line going up into the hills. Leave plenty of gaps. Add a second jagged line. Start filling in the gaps. Don't forget to add some bridges, foliage, islands, and lakes along the river. The two banks of the river will be similar but different.

To color in the hills I start with dark brown in the shadows and some pale yellow on the sunny side. Add light brown lightly to blend the other two colors, finally burnish with pale yellow or white if you feel like it.

To draw hills start with sort of a rolling ridge line in pencil. Then add some hills with pen and start shading the shady side of them. Add some forests next to the hills and some outcrops in the forest.




Sunday, June 28, 2020

World Building


I started drawing some continents and I wanted to include some concepts of continental drift in the design of the continents of the world. These are not strict continental drift ideas just some of the more simple concepts, for example the contents were originally together as a single Pangea continent and later drifted a part and rotated. Here is my first drawing:


In this drawing I first used a blue colored pencil to rough in some random shapes. I then selected contours from the sketch to form approximate outlines for the continents. I made them so the fit together like a puzzle, but not too closely. I added mountain ranges, hills, bodies of water and major rivers, and directions of rotation and movement for the continents. Note that plate tectonics would have the different plate either moving apart or together and there would be plates for the oceans as well. I did not get that sophisticated for this set of drawings.

The first continent I drew was from the bottom right in the above world map. This one has been rotated clockwise. The bottom of it should reach the southern polar region, and the top the tropics. I intended that the drawing should not match the upper sketch exactly. This is supposed to be the continent after millions of years of drift. I also put in some impact craters from meteorites since this planet is in a system with relatively frequent meteor impact.


I thought I should do the land masses from largest to smallest so the next one was the continent in the upper left. Rotated and redrawn. I also decided to add some glacial modification to the upper regions by adding some hills and lakes.


The next continent, have not gotten too far with this one yet. I still have the blue lines on this one which I will go over and erase after I trace over it with black marker.


Next is the smallest continent.


Finally is the first continent with additional detail and colored with colored pencils.


I added tropical jungle regions in the north near the equator, deciduous forest regions near the rivers and coniferous forests near the mountains. There is a desert in the upper center and some broken lands at the bottom center.


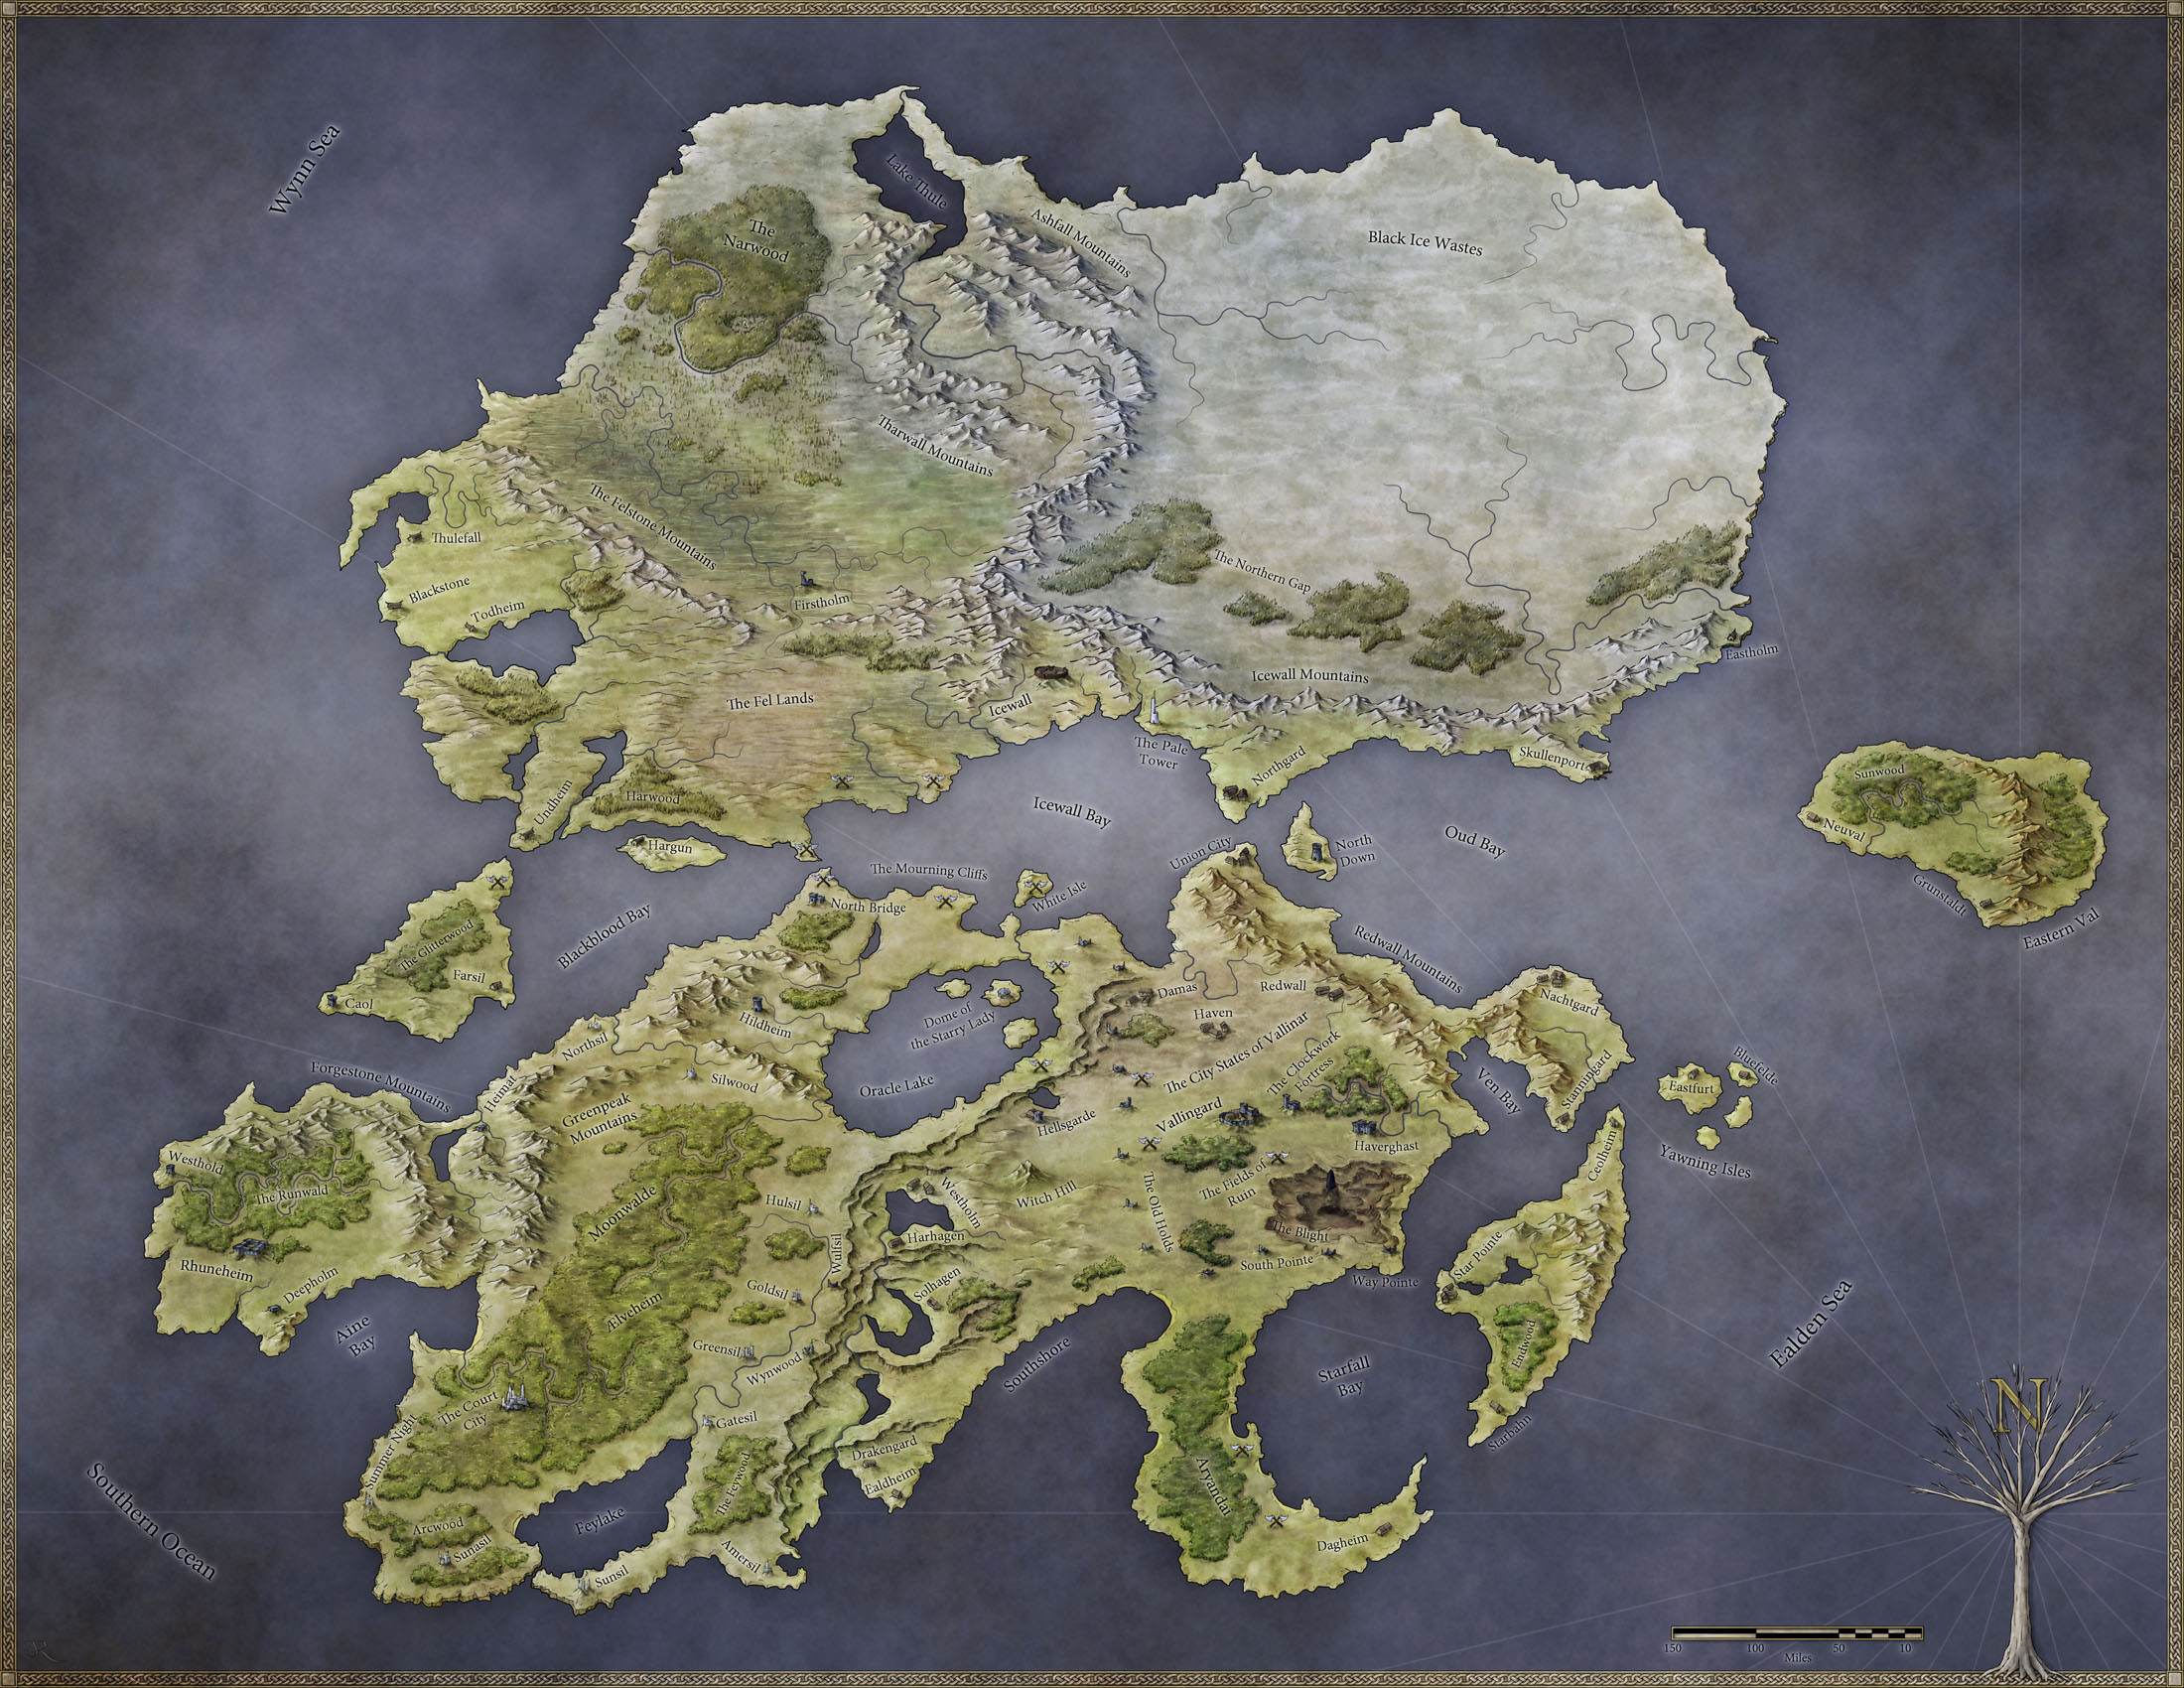
I used GIMP to combine these into a single world map:


I next selected this map because I thought the narrow waist might prove an interesting area like the panama canal. I figured this would be an important trade route with some large ports. I first labeled some typical creatures or themes that might be found in these areas such as fey, seelie and unseelie, nordic, mythic, etc.

Next I selected an area near the center where I could start things out. I selected this region in GIMP and increased the brightness so there was only a faint outline when I printed the page. 

I did not want to start out in the big city, the large ports. I added a scale for the map and started converting each mountain into a large mountain. After looking up some actual sizes of things and thinking about what distance I would need to go from arctic to tropical at least 2000 miles I discovered that each mountain would more likely represent an entire mountain range. Each single tree should represent an entire forest. I decided to use this for a scratch paper. I added some size scales and some approximate travel times in days.

I added more detail on the creatures. Instead of goblins, I now have the Goblin Hills with the three main types of goblins. I started coming up with names for things. I decided to combine two different languages to come up with the names. The noun is based off of Romance languages and the adjective is based off of Nordic languages, adjective following the noun. I then modify the names to make them sound better. For example Port is Puerto changed to Parto. East is Ost. So East Port is Partoost which I changed to Partus. The Port of Partus. Parto vest becomes Partovest. The inland sea is Lande Mare or Landemer.

The sea comes in pretty far at this point so I thought there would be some sort of canyon or rift at its furthest point. The west seems to have more monsters so it seemed a good site for a sorcerer on the coast and near the forest.

The river forms a marshland before it flows into the sea. In ancient times this would have been a city but now it is a ruins inhabited by frog folk and undead.


This one is now redrawn with some creatures added and some names. The little kingdom is Regnolitt which could become Renolit in simplified form. I started adding some roads, towns, and bridges. The lake is good fishing so there is a town on the lake. They have to get the fish to market in Partus so there must be a road connecting them. Renolit sends goods down the river but they have to go by land to get to Kudafis or Partus in order to avoid the ruins at Rovimyr.


At this point I would be all set to start up an adventure sandbox near Regnolit.

Saturday, June 2, 2018

Space Ships and Space Stations

Started playing a Starfinder campaign so I started working on some space ship and space station floor plans.

This one is a two level space ship:

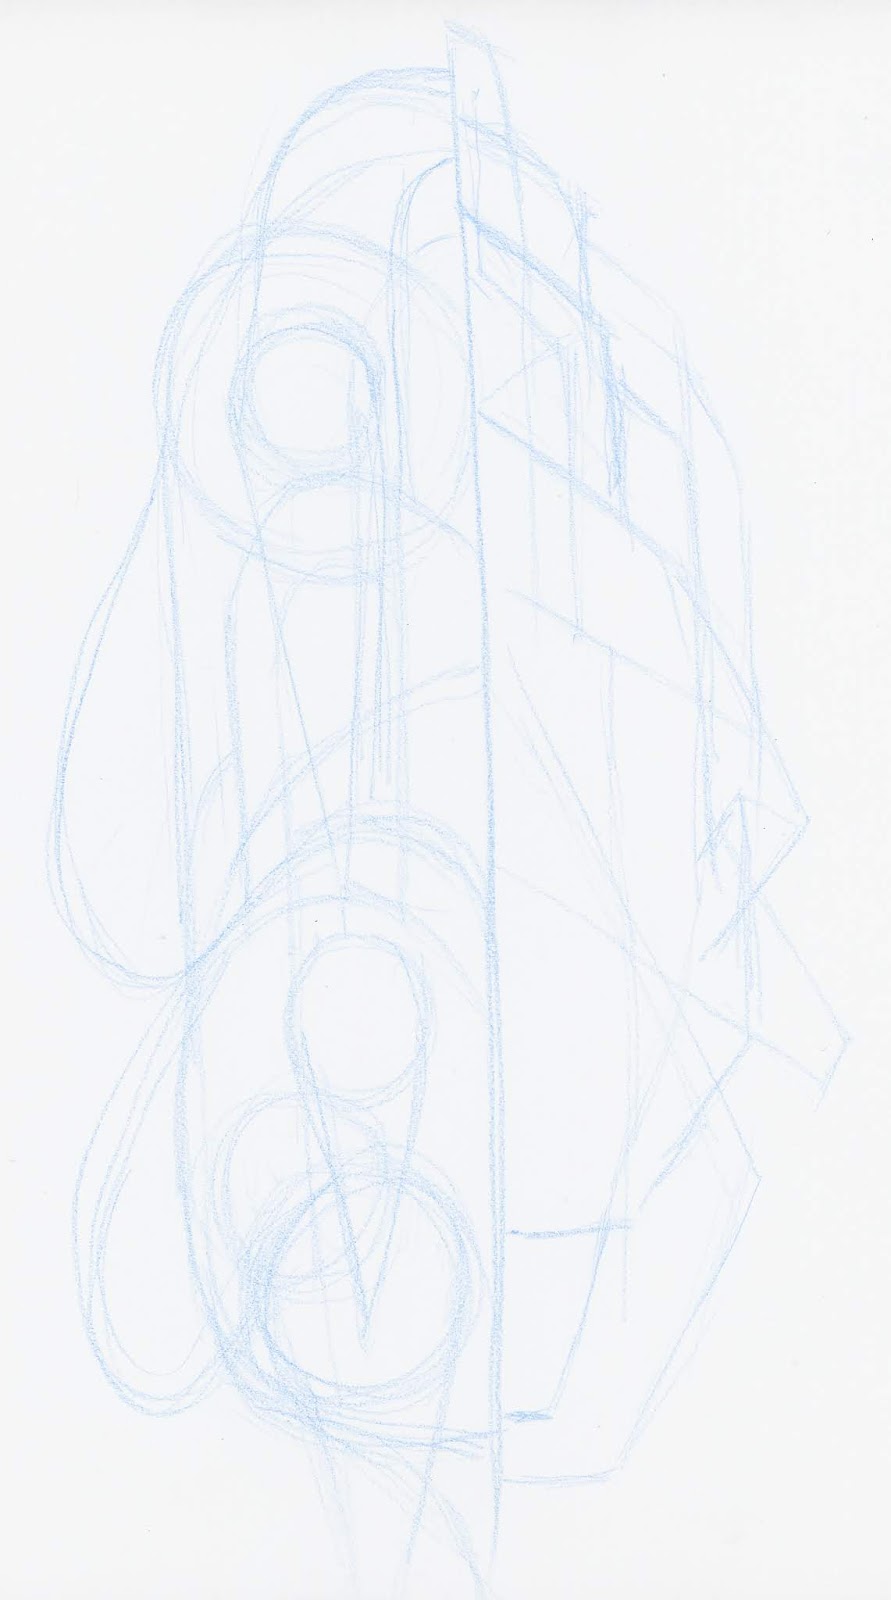
Next is a space station on an asteroid.  I realized later I should have left the labels out.  This one shows a little more of the process.  I start with a blue pencil and make some rough shapes.  Then go in and fill in a bit darker.  Finally go in with a fine tip marker and fill in the final shapes.


The following scans show my process a bit more.
1. Start with a sketch with two different styles on each side of a center line and scan it.
2. Use photo editing software to create a mirror image:
  • Create a new drawing large enough to hold the images
  • Draw a selection box around the half you want to mirror.
  • Copy and paste the selection into the new image as a new layer
  • Duplicate layer
  • Flip layer horizontally
  • Move the two layers next to each other
  • Flatten the image, crop the image, and save the image
3. Rough in the walls with blue pencil, creating one layer of the ship on half of the image and another layer of the ship on the other half.  Once the walls are decided fill in with a marker.  Remember this is going to be mirrored.  After the ink is dry erase the blue pencil lines.


4. Scan the new image and mirror the two sides, make the new image large enough to hold both layers of the ship.  Increase the contrast and brightness to eliminate gray levels and lines.  Ready to print.
 

Some more space ships:


Sunday, August 9, 2015

Fantastic Maps Blog

Fantastic Maps
I really like this guy's maps.  He also has some tutorials on how to make a wide variety of maps using computer software techniques.

Dungeon Maps

A dungeon map using random graph paper.  Dyson cross hatching.  Added some bricks to this one.  This one was intended for three different types of creature.  Any guesses which ones?

Matty suggested I add a bridge with water.  I figured the dam and reservoir might be useful.

Sunday, August 2, 2015

Bernie the Flumph

This guy has some cool maps too:

Bernie the Flumph


Old School Dungeon Map

Another old school dungeon map based on Dyson's style of mapping.


To create this map I made some specialty graph paper where I loaded a grid pattern into Photoshop and then made in image where copied the grid and rotated it at several different angles.  I then printed out the new graph paper and drew the dungeon map on that graph.  This is the same room sequence as my previous 27 room 3D dungeon, the rooms are just in different positions.

Below is an example of a random starting grid for mapping.

Here is another sheet with all same size grids but different angles:


Saturday, August 16, 2014

Dragon's Lair in Photoshop

This is an update to my Dragon's Lair I posted in one of my first posts.  This one is rendered in Photoshop.


Sunday, August 19, 2012

Tiles

You can set these tiles to a fill pattern in photo shop and use them to fill areas of a pattern.