- Hoard of the Dragon Queen (levels 1-8) Dragon cultists invade Faerun
- Rise of Tiamat (levels 7-15) No, you don't get to fight Tiamat
- Tomb of Annihilation (levels 1-11+) Chult sourcebook + adventures, Tomb of Horrors, Fane of the Night Serpent
- Ghosts of Saltmarsh (levels 1-11+) Saltmarsh region, sea travel, Salt Marsh series rehash, Lovcraftian
- Rime of the Frost Maiden: Icewind Dale sourcebook + adventures
- Out of the Abyss: Underdark sourcebook + adventure
- Curse of Strahd: Barovia sourcebook + adventure
- Storm King's Thunder: Against the Giants rehash
- Princes of the Apocalypse: Temple of Elemental Evil rehash
- Eberron: Rising from the last War: Eberron sourcbook sans adventures
- Explorer's Guide to Wildemount: Critical Role campaign setting
- Mythic Odysseys of Theros: MtG Ancient Greece campaign setting
- Tales of the Yawning Portal: Rehash of Previous adventure releases
- Guildmasters Guide to Ravnica: MtG combo cards converted to D&D
- Dungeon of the Mad Mage: Undermountain dungeon crawl
- Dragon Heist: Waterdeep map
- Candlekeep Mysteries: 17 One-shots
- Descent into Avernus: Baldur's Gate goes to Hell
Showing posts with label d&d. Show all posts
Showing posts with label d&d. Show all posts
Monday, August 9, 2021
D&D 5e Module Micro Reviews

Sunday, February 28, 2021
My Current Map Sketch Process
In this post I will describe the process I am currently using to draw maps. I started with a Pangea type supercontinent for my world as follows. I decided that this would split apart and rotate indicated by the blue arrows. I indicated tropical and arctic regions for the continents.

Next I redrew them one at a time adding more detail and modifying the land masses a little since this is after many millennia.

Next I divided the map into a number of smaller parts to zoom in on.

Next I draw this region at high magnification. First I rough it in with colored pencil, blue for water, olive green for the edges of the hills. This is from the north side of the lake. Then I go over the edges of the water with a pencil and rough it in for example the small island on the right. Next I go over the pencil with a fine marker. I am leaving many gaps along the way as shown on the peninsula in the center. Then I can add more detail as shown in the shore on the left. Sometimes I may just connect the shore and leave it smooth. These gaps are also helpful if a river needs to connect to the shore or if you need to put docks or a city next to the shore. Next I look for a good spot for a city. When I want to put a city in I use a triangle to add some vertical lines and some 30 degree lines so I can draw an isometric city. The vertical lines are supposed to help my towers from looking crooked.

Next I add more detail to the shore line. Look for natural structures and add small lines to make them look more like three dimensional objects. Choose a direction for the sun, mine is usually above and to the right, and use a larger marker to outline the opposite edges, for mine it is the bottom right edge of the shores, for kind of a drop shadow. Add some waves along the water. Next use a dark olive green to create some structure for the shoreline. I try to make it look kind of like hills or streambeds. Then color this in with light olive green. Finally I go over anything close to the water with a brighter green color. Usually I don't start coloring until all of the pen work is finished.

For cliffs start with a jagged line. Think in terms of isometric shapes and be sure to add quite a few zig-zags. Then draw lines coming down from the cliffs. Keep adding more lines and curve outward a bit, put in a few vertical jogs. Color in shadows with a dark brown in the corners of the cliffs. Add some color to the cliffs, purple, brick red, brownish orange, dark yellow, grey etc. Go over with a light yellow or white to burnish them in if you want.

For the river draw single jagged line going up into the hills. Leave plenty of gaps. Add a second jagged line. Start filling in the gaps. Don't forget to add some bridges, foliage, islands, and lakes along the river. The two banks of the river will be similar but different.
To color in the hills I start with dark brown in the shadows and some pale yellow on the sunny side. Add light brown lightly to blend the other two colors, finally burnish with pale yellow or white if you feel like it.
To draw hills start with sort of a rolling ridge line in pencil. Then add some hills with pen and start shading the shady side of them. Add some forests next to the hills and some outcrops in the forest.

Thursday, September 3, 2020
Regnolit

This this picture I zoomed in on one of the areas in my other map. It is the shaded area in the middle.

Here is the updated world map:

Sunday, June 28, 2020
World Building

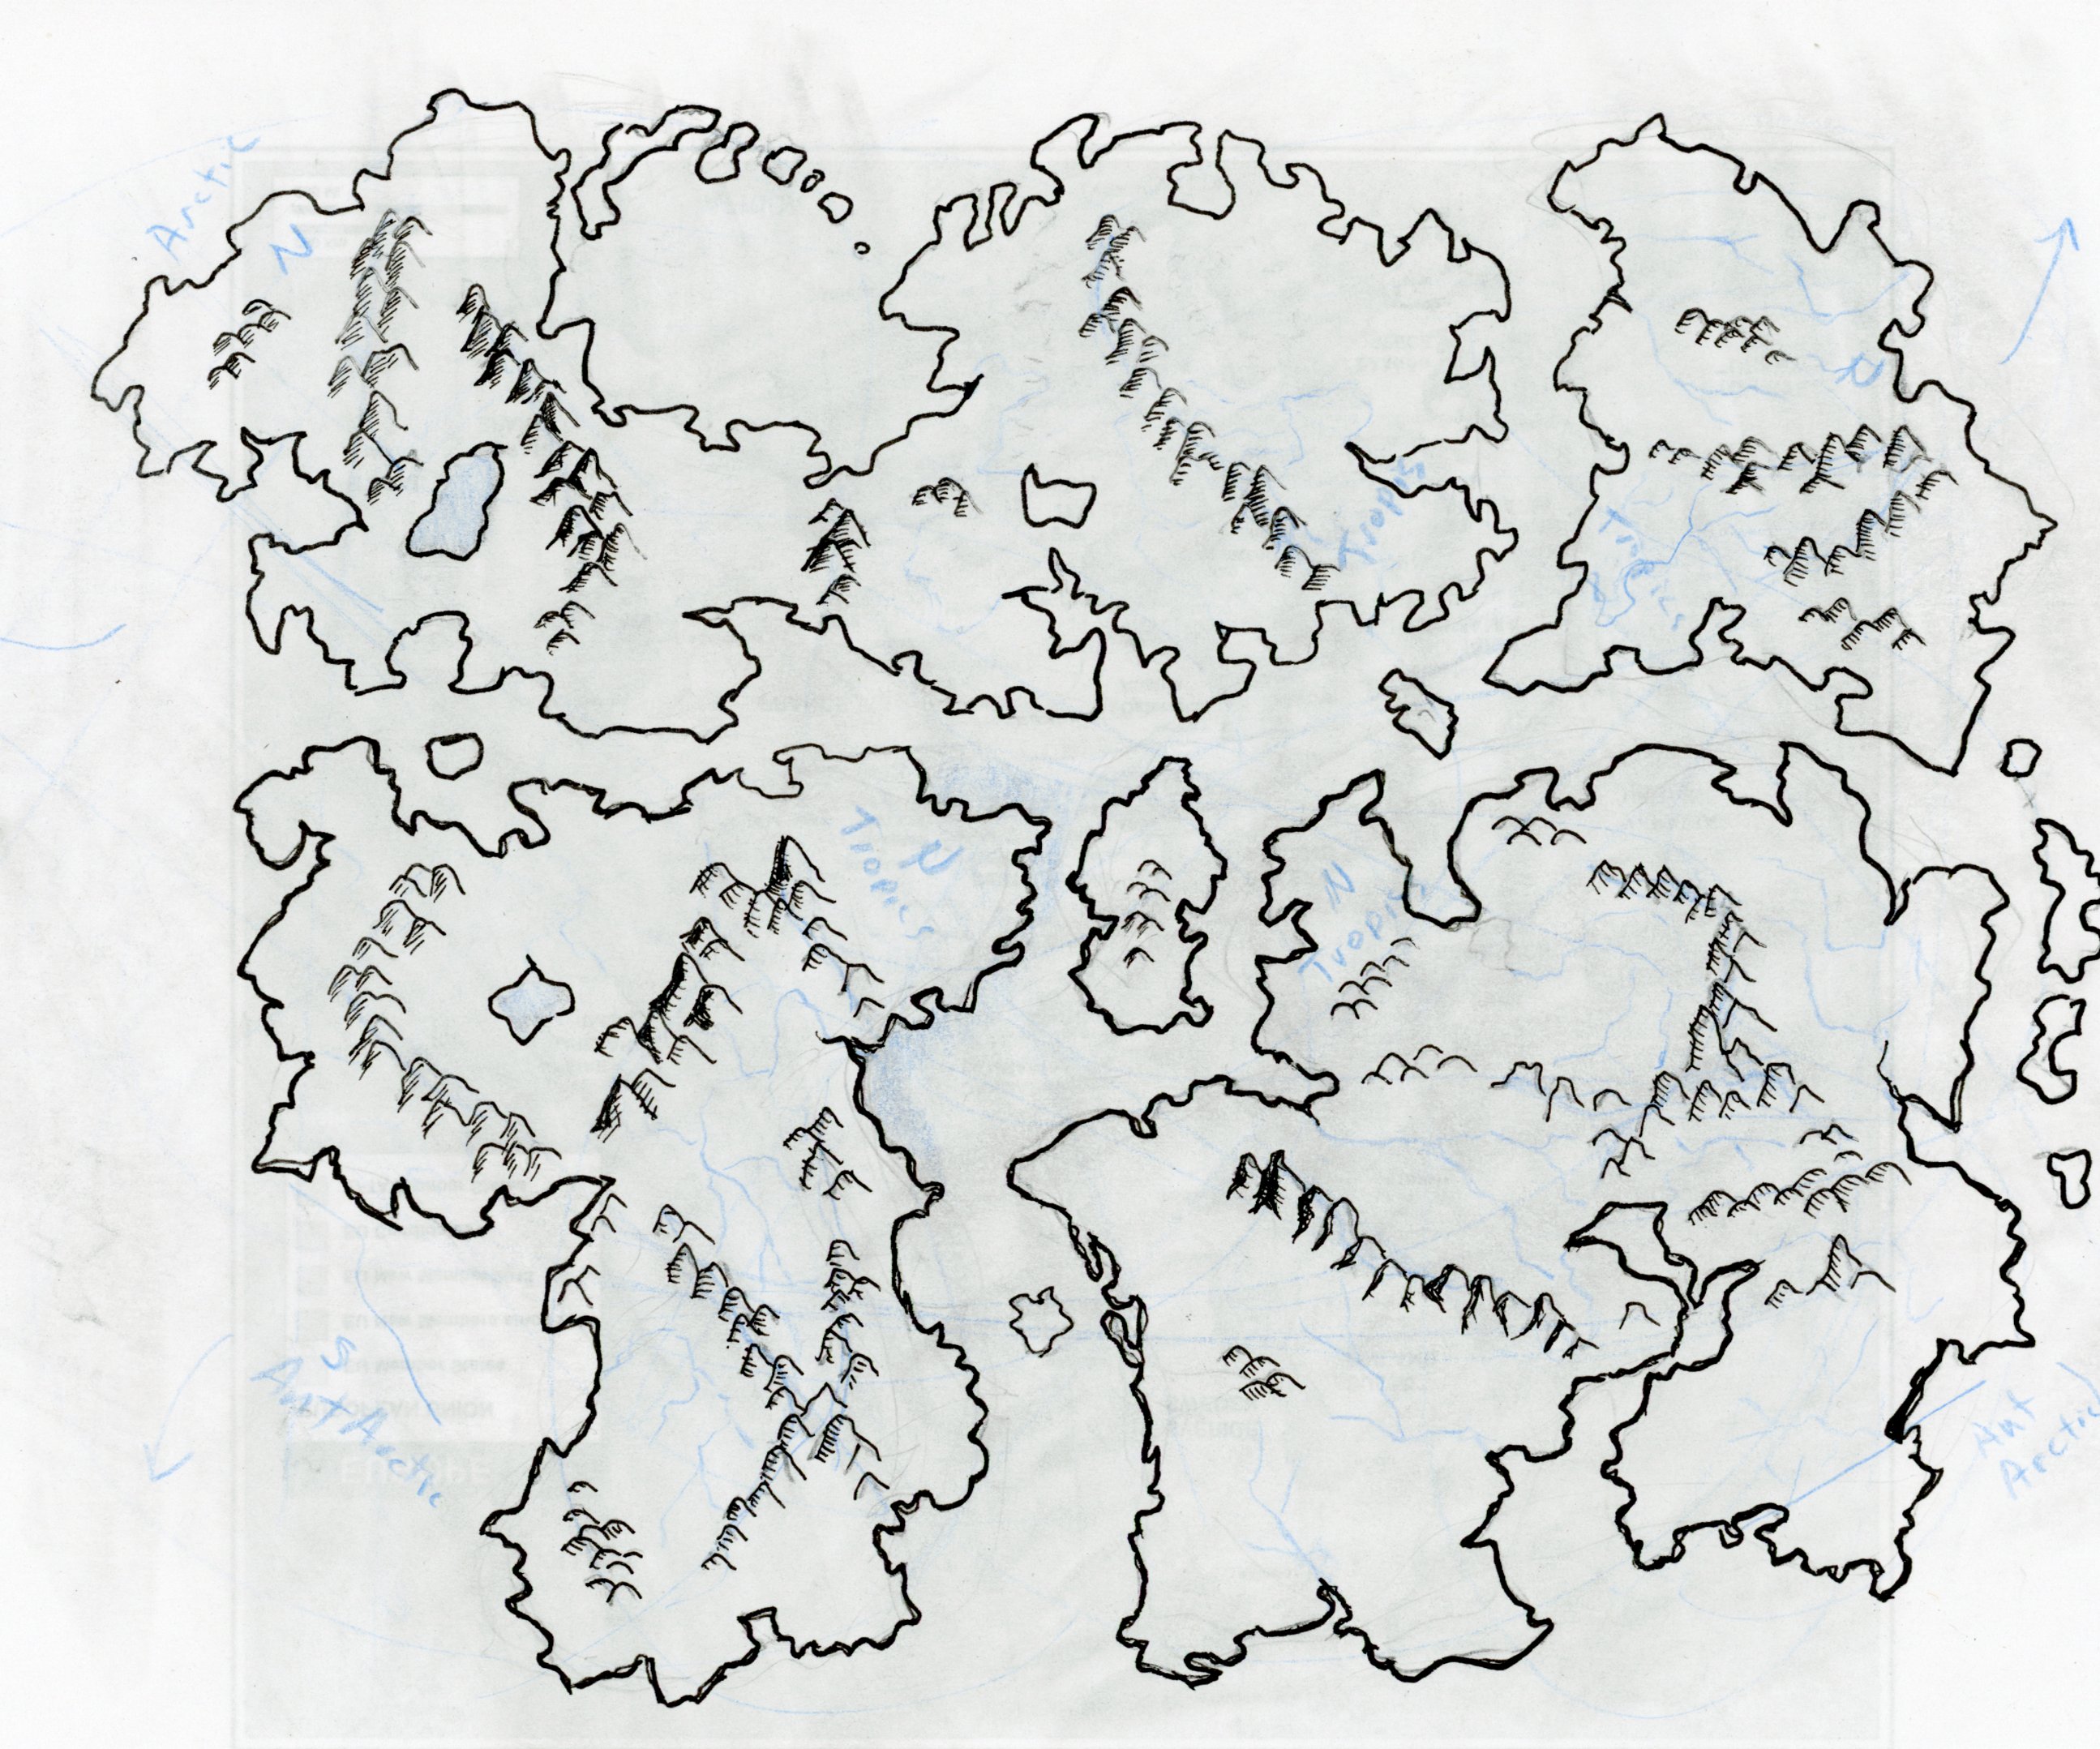
In this drawing I first used a blue colored pencil to rough in some random shapes. I then selected contours from the sketch to form approximate outlines for the continents. I made them so the fit together like a puzzle, but not too closely. I added mountain ranges, hills, bodies of water and major rivers, and directions of rotation and movement for the continents. Note that plate tectonics would have the different plate either moving apart or together and there would be plates for the oceans as well. I did not get that sophisticated for this set of drawings.
The first continent I drew was from the bottom right in the above world map. This one has been rotated clockwise. The bottom of it should reach the southern polar region, and the top the tropics. I intended that the drawing should not match the upper sketch exactly. This is supposed to be the continent after millions of years of drift. I also put in some impact craters from meteorites since this planet is in a system with relatively frequent meteor impact.

I thought I should do the land masses from largest to smallest so the next one was the continent in the upper left. Rotated and redrawn. I also decided to add some glacial modification to the upper regions by adding some hills and lakes.

The next continent, have not gotten too far with this one yet. I still have the blue lines on this one which I will go over and erase after I trace over it with black marker.

Next is the smallest continent.

Finally is the first continent with additional detail and colored with colored pencils.

I added tropical jungle regions in the north near the equator, deciduous forest regions near the rivers and coniferous forests near the mountains. There is a desert in the upper center and some broken lands at the bottom center.


I used GIMP to combine these into a single world map:

I next selected this map because I thought the narrow waist might prove an interesting area like the panama canal. I figured this would be an important trade route with some large ports. I first labeled some typical creatures or themes that might be found in these areas such as fey, seelie and unseelie, nordic, mythic, etc.

Next I selected an area near the center where I could start things out. I selected this region in GIMP and increased the brightness so there was only a faint outline when I printed the page.
I did not want to start out in the big city, the large ports. I added a scale for the map and started converting each mountain into a large mountain. After looking up some actual sizes of things and thinking about what distance I would need to go from arctic to tropical at least 2000 miles I discovered that each mountain would more likely represent an entire mountain range. Each single tree should represent an entire forest. I decided to use this for a scratch paper. I added some size scales and some approximate travel times in days.
I added more detail on the creatures. Instead of goblins, I now have the Goblin Hills with the three main types of goblins. I started coming up with names for things. I decided to combine two different languages to come up with the names. The noun is based off of Romance languages and the adjective is based off of Nordic languages, adjective following the noun. I then modify the names to make them sound better. For example Port is Puerto changed to Parto. East is Ost. So East Port is Partoost which I changed to Partus. The Port of Partus. Parto vest becomes Partovest. The inland sea is Lande Mare or Landemer.
The sea comes in pretty far at this point so I thought there would be some sort of canyon or rift at its furthest point. The west seems to have more monsters so it seemed a good site for a sorcerer on the coast and near the forest.
The river forms a marshland before it flows into the sea. In ancient times this would have been a city but now it is a ruins inhabited by frog folk and undead.

This one is now redrawn with some creatures added and some names. The little kingdom is Regnolitt which could become Renolit in simplified form. I started adding some roads, towns, and bridges. The lake is good fishing so there is a town on the lake. They have to get the fish to market in Partus so there must be a road connecting them. Renolit sends goods down the river but they have to go by land to get to Kudafis or Partus in order to avoid the ruins at Rovimyr.

At this point I would be all set to start up an adventure sandbox near Regnolit.
Thursday, October 17, 2019

Friday, October 11, 2019
Lizard Marsh
This was my overview of Lizard Marsh south of Waterdeep. I made this as a big Sandbox. "The Bog" is the the local inn where PCs can stay without leaving the marsh. The main quest was to find out what was going on in the boggard region.

The x's mark the path the adventurer's took. My PC was Grillup Yellowbelly, a grippli shaman (level 7) who as a backstory had accidentally turned the grippli chieftain into a gibbering mouther. He was later killed in battle against a group of fire casters due to a poor initiative roll. My backup character was a lizardfolk fighter named Osikias Sharptooth who had a gamling habit and had a large amount of debt owed to some saurians in the Lizard Marsh.
The boggards were being influenced by a hydrodaemon and so they had greatly increased their territory, driving out the grippli.
The lizard folk could be allied against the boggards. The dragon was remaining neutral about the whole thing so far but would take action if the boggards grew too powerful.
An unfinished lizardfolk encampment.

The boggard stronghold was heavily fortified using advanced boggards from the Pathfinder Monster Codex.

V = Villagers: 2-3 Boggards
G = Guard post: 2 Boggard Brutes (CR 3 Fighters) 1 Boggard Hunter (CR 5 Ranger)
T = Watch tower: 1 Boggard Farcroakers (CR 3), 1 Boggard Swampseers (CR 4 Mystic), 1 Boggard Champion (CR 7 Fighter)
- 3 Savage Boggards (CR 3 Barbarians), 2 Scarred ones (CR 6 Barbarians)
- 2 Boggard Brutes (CR 3 Fighters), Frog father (CR 5)
- 1 Abyssal Warrior CR 8 with 2 Farcroaker guards, 1 Stalker (CR 9 Ranger) with 3 Hunter CR 5 trainees.
- Summoner, this summoner has a ring of Daemon affinity and the ability to cast summon monster VI. There are 3 boggard brutes and 2 boggard champions guarding the summoner. The summoner is attempting to summon more Hydradaemons.
- 5 Slurks are hanging out here.
- 1 Boggard Prophet (Mystic CR 5) and 3 Boggard Swampseer Acolytes (CR 4)
- Boggard Prison Pit, this is a pit where captives are held, there is a merchant and her family, 3 grippli, and 2 lizard folk. The boggards are sacrificing them as part of the summoning ritual.
- Boggard Keep: Boggard Priest King and Boggard Hydradaemon. Hydradaemon summons mud elementals
- Breeding Pond The
- bogwiggles are here (CR 1)
- A pair of merrow are guarding this (south) tunnel
- A froghemoth is guarding this (north) tunnel
Saturday, June 2, 2018
Space Ships and Space Stations
Started playing a Starfinder campaign so I started working on some space ship and space station floor plans.
This one is a two level space ship:


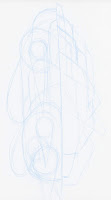
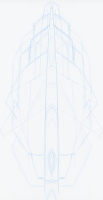
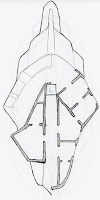
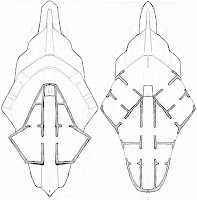
Some more space ships:


This one is a two level space ship:

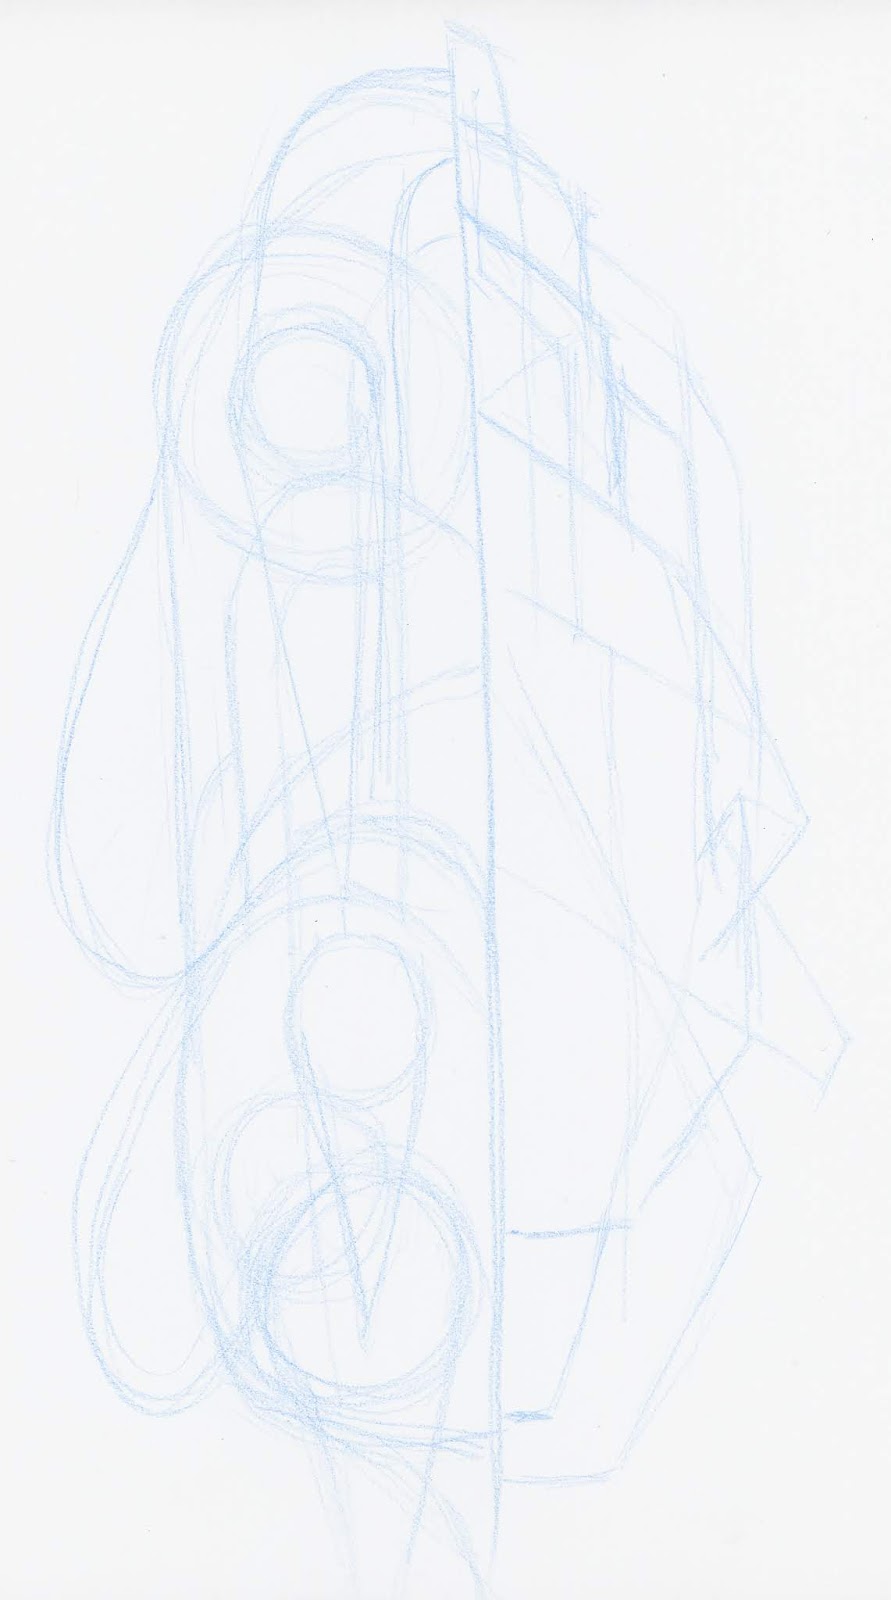
Next is a space station on an asteroid. I realized later I should have left the labels out. This one shows a little more of the process. I start with a blue pencil and make some rough shapes. Then go in and fill in a bit darker. Finally go in with a fine tip marker and fill in the final shapes.

The following scans show my process a bit more.
1. Start with a sketch with two different styles on each side of a center line and scan it.
2. Use photo editing software to create a mirror image:
- Create a new drawing large enough to hold the images
- Draw a selection box around the half you want to mirror.
- Copy and paste the selection into the new image as a new layer
- Duplicate layer
- Flip layer horizontally
- Move the two layers next to each other
- Flatten the image, crop the image, and save the image
4. Scan the new image and mirror the two sides, make the new image large enough to hold both layers of the ship. Increase the contrast and brightness to eliminate gray levels and lines. Ready to print.


Some more space ships:


Monday, March 5, 2018


Wednesday, July 12, 2017
Sample Scenarios from Movies and Literature
- The plans to a dangerous new weapon are stolen and come into the hands of the adventurers. The plans must be brought to the rebels in order to defeat an oppressing regime.
- A magical creature shows up in the village and is defeated by the hero. The village sage sends the hero on a quest to find out why the creature came.
- A group of adventurers sets out on a quest to restore their homeland from an ancient evil.
- The adventurer inherits a powerful artifact that must be destroyed by going on a dangerous quest.
- A former ally has turned evil and set up a fortress. The adventurers are ordered to find him and defeat him.
- A hero must infiltrate a group of powerful enemies who are holding a group of hostages.
- A group of heroes must protect a village from an overwhelming force.
- The group is sent on a mission to explore a mysterious outpost. When they do a dangerous monster is released.
- The adventurers are held as slaves and gladiators and must fight their way to freedom.
- A researcher creates a group of powerful creatures that escape their cages to terrorize the region.
- A hero is sent from the future back to the past to try and change the future.
- The adventurers must protect and save a benevolent monster from those who would do it harm.
- The adventurers find themselves in a mysterious world of magic and try to find their way home.
- The adventurers discover that history is being influenced by a group of mysterious beings and set out to find out more about it.
- A powerful artifact has been damaged and must be restored through a dangerous quest.
- An evil villain killed the adventurers family. He was thought to be destroyed but is found to be still alive and regaining power.
- An innocent creature is prophesied to defeat the evil ruler. The adventurers must save the innocent.
- A prophesy predicts that whoever obtains a certain artifact will become the new leader. A member of the party obtains the artifact. Those who want power plot against them.
- A hero goes on a dangerous mission to prove his love.
- A group of heroes discover that magical monsters are not actually evil and must prove it to the rest of the village.
Tuesday, July 3, 2012
Kobolds and Minotaur

I updated this on 7/14/2014. This is a minotaur labyrinth with a kobold stronghold in the beginning. This is a straight dungeon crawl without all the fancy stuff. The red marks indicate the position of an adventuring party that went through the labyrinth. At each corner I would suggest they could go either left or right. There is typically a confusion spell on the labyrinth. Occasionally there could be shifting walls or teleporters to mess the players up a bit. Kobolds are typically armed with crossbows or half-spears.
Here are the rooms for the dungeon crawl:
1. Guard room. The door to this room is false with a murder hole in the door. The actual door is secret and to the right of the false door. There are 3 kobolds in this room. Two will fight while one sounds a cow horn then runs to warn the others in the common room (3). Before this room is a pit trap 1d6 damage to any who fall in it Dex DC 15 save. The kobolds use a secret switch to disable the trap when they want to cross. The switch is in the guard room. The door to the west leads to the kobold common room, the stairs to the north lead down to armory and weapons storage. There is a murder hole in the door. Guards will usually be watching for intruders 75% chance. The guards have a firery red potion of healing. Although it burns going down it cures light wounds (1d8+1)
2. Armory. This room is used to store weapons the kobolds use when going on raids. There are many common crudely made weapons here and some armor. Adjust to match your party's needs. The stairs to the south lead up to the kobold guard room. There is a secret door or concealed passage (DC 15) in the back of this room. The kobolds are unaware of this but have been wondering why there weapons placed in this corner have been deteriorating extra fast. Actually due to the rust monster who has tunneled here and grabs weapons to feed. A perception check DC 15 will notice the large quantity of badly corroded weapons in this area and piles of rust on the floor. There is one masterwork cross bow here.
3. Common room. There are 10 kobolds here and 4 weasels trained by the kobolds to fight intruders. The door to the east leads to the kobold guard room. The door to the west leads to the kobold dining hall. Use these to make up lost parties of kobolds. These kobolds have 30 gp total hidden under piles of rags and 3 firey red potions of healing.
4. Dining Hall There are 6 kobolds in this room feasting and drink at some of the large tables in this hall. The door to the north leads down to the storage room. The door to the west leads down to the inner kobold warrens. The door to the east leads to the kobold common room. These kobolds have 2 firey red potions of healing and a gold ring worth 10 gp, as well as 20 gp.
5. Storage room. This storage area has stores of food and drink such as is common among kobolds. It includes some rations suitable for adventurers as well as less savory items.
6. Pet area. The passage leading to this room from outside is a trap. This steeply sloped passage is wet and muddy. Anyone walking down it in the center must make a Dex save DC 15 or slip down the shoot and come into this room prone. Anyone trying to exit this room must make a climb check DC 20 to get out. There are carefully placed stones along the edges of this passage which allow the kobolds to climb out of here. The stones can be detected on a perception check DC 17. This area has a black bear, 2 giant weasels and 4 kobolds. The weasels are trained to defend the lair from intruders. The black bear has been captured but has not been trained. The kobolds herd it with their spears and try to get it to attack the party. To the south is a sloped ramp going up to the cave entrance. A concealed path leads through the dense foliage on the edge of the hill side. To the north is a double door leading to the inner kobold warrens. If the bear becomes 50% damaged or more it will attack anyone within reach at random including kobolds or weasels. The kobolds have two firery red potions of healing. One of the kobolds in this area has a key to the doors to the north.
To the north are large iron double doors that are locked (DC 20).
7. Small room A. There are two kobolds in this room. There is a small dais in this room. The passage to the north leads to the inner kobold warrens. There is a secret door in this room which leads to the food storage area. Some kobolds have recently made this passage to sneak extra food rations when times are tight. There is some mining equipment in the corner. A secret compartment in the dais holds a potion of bull’s strength (unknown to the kobolds)
8. Small room B. There are 2 kobolds in this room. The passage south leads to the inner kobold warrens. The passage east leads to a second bear den.
9. Weasel training room. This room has 4 weasels that have not yet been trained however they are hostile to any one who gets between them and freedom. The door to the south leads to the inner kobold warrens.
10. Bear den 2. There is a black bear and 3 kobolds in this room. The passage to the west leads to the inner kobold warrens. This bear is partially trained and will defend respond to the kobolds commands but if it takes 50% damage it will become enraged as 6. There is a secret door on the east wall that is unknown to the kobolds DC 20 that leads to the lair of the rust monster.
11. Rust Monster Tunnel. There is a rust monster in this room. It has been tunneling around this area. It has recently opened up a small passage into the kobold armory where it has been feeding on any armor that is put into the NE corner. It has also explored to the point of the bear den but did not find any food there. There is a rock cave-in in the NW passage that could possibly be cleared.
There are two additional kobolds pounding drums to draw the minotaur to the sacrifice. There is a crude altar adorned with a bull’s head in this room. The secret door to the east is used to provide sacrifices to the minotaur who the kobolds worship as a god. The passage to the west leads to the dungeon. The passage south is a sloped passage leading up to the inner kobold warrens. If the Minotaur is encountered here he will attempt to escape into the labyrinth. The treasure of the kobolds is in this room: Kreela wears a pearl necklace worth 300 gp. Kreela uses a magic missile wand with 10 charges before casting spells.
13. Dungeon. This room is the dungeon where captives and sacrifices to the minotaur are kept until they are either ransomed or sacrificed. Any PCs who are captured will likely end up in this room. Mari the farmer’s daughter is currently held prisoner here, as well as a captured rogue, a goblin, and a captured gnome. Fimble is a potion maker and merchant who was captured on the road. The goblin has a treasure map to the dragon’s lair. He was traveling from a different tribe of goblins to make contact with the dragon’s tribe when he was captured by kobolds.
14. Labyrinth. Anyone entering this area will feel very dizzy and must make a Will save DC 17 or fall unconscious for 1d4 rounds. During this time the walls will shift to separate the party. This maze has a confusion spell cast on it so directions are given as either left or right at each intersection. There are frequent encounters with giant rats in this area.
15. Minotaur Lair. This is the lair of the minotaur. His treasure is in a chest with a sleeping gas effect and a siren if the trap is not disabled. Inside are the following: Potions of invisibility, sleep, cat’s grace, spider climb, 500 gp. The Minotaur carries a +1 huge great axe (Atk +10/+5 Dam 2d8+5) and has a cure moderate wounds potion which he will drink if severely wounded. The minotaur will charge any who enter his lair for 4d6+6. He could also gore Atk +4/Dam 1d8+2.
Subscribe to:
Posts (Atom)