Showing posts with label pathfinder. Show all posts

Monday, July 20, 2026

Starfinder First Session Recap

 The party consisted of :

Gunk, Goblin, Soldier
Thwack, Kobold, Barbarian
T'xtl, Hostless Fungal Entu Colony, Mystic
Gamma-6, Android, Witchwarper
Spiri, Lashunta, Envoy (currently not being used as she is my character)

Caz, the skittermander, contacted the party and introduced Gamma-6 to the group. T'xtl and Spiri were both experiencing headaches due to a recurring telepathic signal every 24 hours 40 minutes, which upon investigation turned out to be the rotation of the planet Akiton. The party was offered a fee of 500 credits to investigate the phenomenon.

On the way to Akiton the Rock Hopper ship began experiencing random issues such as doors opening and closing on their own, laughter, and display screens randomly going blank indicative of a gremlin on board the ship.

The ship arrived at Akiton near Maro and noted a dust cloud to the west of the city. The dust cloud turned out to be a pair of Shobhad prisoners on a modified enercycle being pursued by gang members in an urban cruiser, an enercycle, and a motorized kit (turbo glider). 

The starship suddenly lost power and crashed directly in front of the pursuants. The PCs defeated the gang members and rescued the two prisoners.

The Shobhad led the PCs to their Sietch which was a cave network. They were led by a scret path up to the cave entrance (9) where they fought two Khefaks. The Shobhad showed the PCs a button which would trigger the explosives in the entrance to the cave. They led them to room 8 where they could rest and get supplies. Room 7 was located up a chimney and stored the weapons. Room 8 was shrine to Akiton. These Shobhad worship Akiton itself. The red crystal Tarstarkas was stolen from the shrine by the gang and taken to a secret research base of contemplatives. The base is built along the edge of the canyon. The Shobhad warned the party not to go down the stairs.

The Shobhad put on equipment and weapons with the following stats:

The PCs and the Shobhad returned to the ship and discovered that it had somehow been repaired. There was also an alien Glorp cat on board. The Shobhad led the PCs to the secret base. Just as they arrived, what appeared to be a small hill opened up like an iris, revealing a huge parabolic emitter. The emitter let out a massive blast of energy into space, and T'xtl was rendered unconscious.


Friday, October 11, 2019

Lizard Marsh

This was my overview of Lizard Marsh south of Waterdeep.  I made this as a big Sandbox.  "The Bog" is the the local inn where PCs can stay without leaving the marsh.  The main quest was to find out what was going on in the boggard region.


The x's mark the path the adventurer's took.  My PC was Grillup Yellowbelly, a grippli shaman (level 7) who as a backstory had accidentally turned the grippli chieftain into a gibbering mouther.  He was later killed in battle against a group of fire casters due to a poor initiative roll.  My backup character was a lizardfolk fighter named Osikias Sharptooth who had a gamling habit and had a large amount of debt owed to some saurians in the Lizard Marsh.

The boggards were being influenced by a hydrodaemon and so they had greatly increased their territory, driving out the grippli.

The lizard folk could be allied against the boggards.  The dragon was remaining neutral about the whole thing so far but would take action if the boggards grew too powerful.

An unfinished lizardfolk encampment.

The boggard stronghold was heavily fortified using advanced boggards from the Pathfinder Monster Codex.
V = Villagers: 2-3 Boggards 
G = Guard post: 2 Boggard Brutes (CR 3 Fighters) 1 Boggard Hunter (CR 5 Ranger) 
T = Watch tower: 1 Boggard Farcroakers (CR 3), 1 Boggard Swampseers (CR 4 Mystic), 1 Boggard Champion (CR 7 Fighter) 

  1. 3 Savage Boggards (CR 3 Barbarians), 2 Scarred ones (CR 6 Barbarians) 
  2. 2 Boggard Brutes (CR 3 Fighters), Frog father (CR 5) 
  3.  1 Abyssal Warrior CR 8 with 2 Farcroaker guards, 1 Stalker (CR 9 Ranger) with 3 Hunter CR 5 trainees. 
  4.  Summoner, this summoner has a ring of Daemon affinity and the ability to cast summon monster VI. There are 3 boggard brutes and 2 boggard champions guarding the summoner. The summoner is attempting to summon more Hydradaemons. 
  5.  5 Slurks are hanging out here. 
  6.  1 Boggard Prophet (Mystic CR 5) and 3 Boggard Swampseer Acolytes (CR 4) 
  7.  Boggard Prison Pit, this is a pit where captives are held, there is a merchant and her family, 3 grippli, and 2 lizard folk. The boggards are sacrificing them as part of the summoning ritual. 
  8. Boggard Keep: Boggard Priest King and Boggard Hydradaemon. Hydradaemon summons mud elementals 
  9.  Breeding Pond The 
  10. bogwiggles are here (CR 1) 
  11.  A pair of merrow are guarding this (south) tunnel 
  12.  A froghemoth is guarding this (north) tunnel

Saturday, June 2, 2018

Space Ships and Space Stations

Started playing a Starfinder campaign so I started working on some space ship and space station floor plans.

This one is a two level space ship:

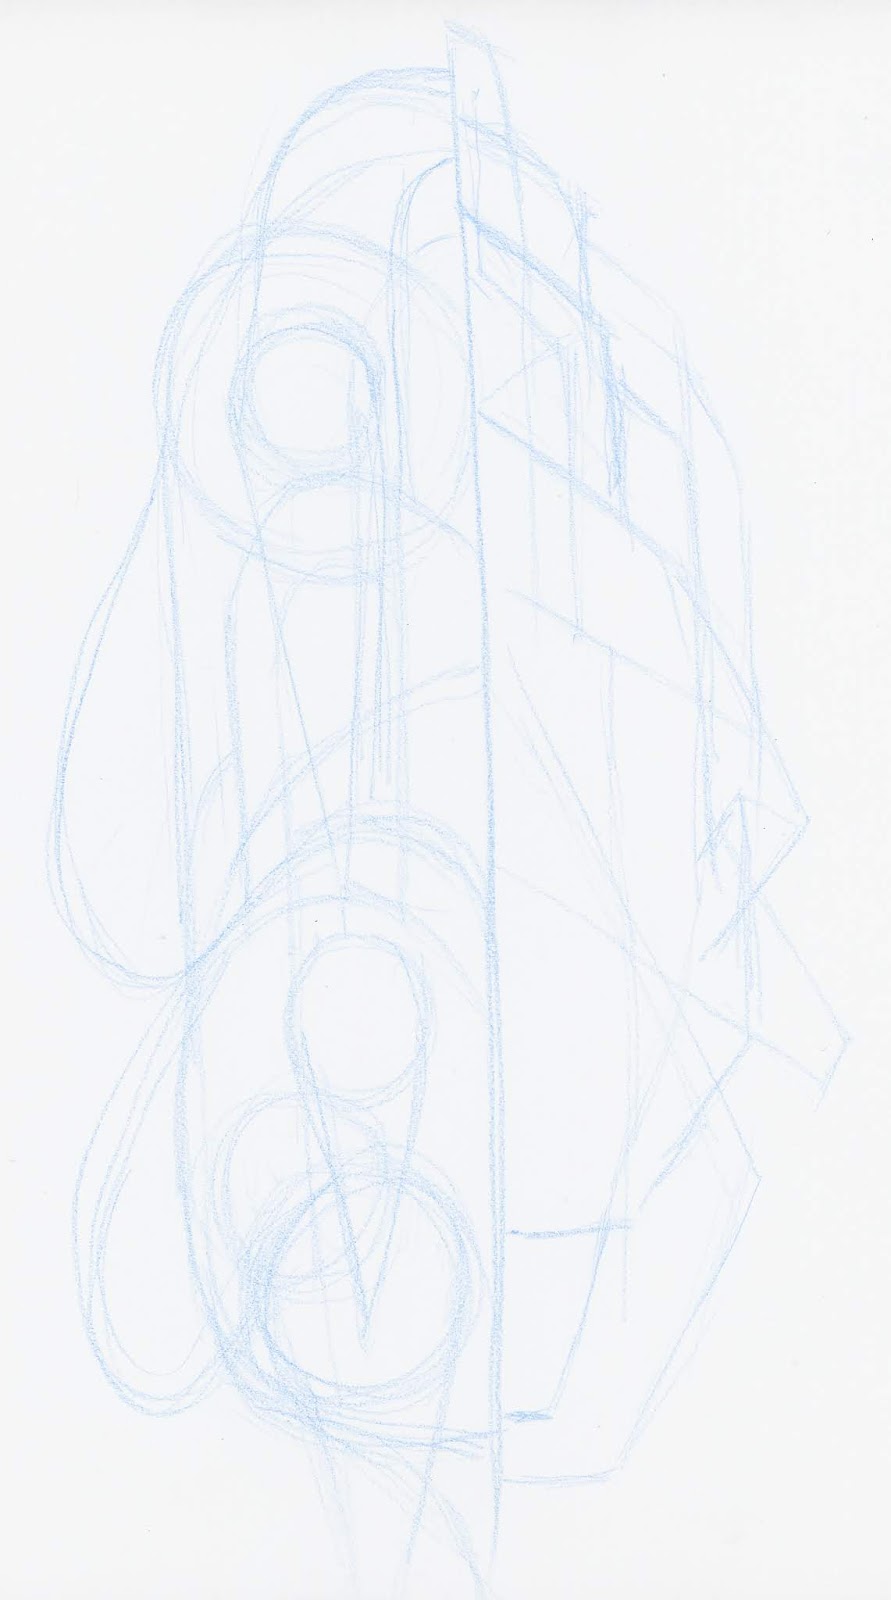
Next is a space station on an asteroid.  I realized later I should have left the labels out.  This one shows a little more of the process.  I start with a blue pencil and make some rough shapes.  Then go in and fill in a bit darker.  Finally go in with a fine tip marker and fill in the final shapes.


The following scans show my process a bit more.
1. Start with a sketch with two different styles on each side of a center line and scan it.
2. Use photo editing software to create a mirror image:
  • Create a new drawing large enough to hold the images
  • Draw a selection box around the half you want to mirror.
  • Copy and paste the selection into the new image as a new layer
  • Duplicate layer
  • Flip layer horizontally
  • Move the two layers next to each other
  • Flatten the image, crop the image, and save the image
3. Rough in the walls with blue pencil, creating one layer of the ship on half of the image and another layer of the ship on the other half.  Once the walls are decided fill in with a marker.  Remember this is going to be mirrored.  After the ink is dry erase the blue pencil lines.


4. Scan the new image and mirror the two sides, make the new image large enough to hold both layers of the ship.  Increase the contrast and brightness to eliminate gray levels and lines.  Ready to print.
 

Some more space ships:


Sunday, August 9, 2015

Dungeon Maps

A dungeon map using random graph paper.  Dyson cross hatching.  Added some bricks to this one.  This one was intended for three different types of creature.  Any guesses which ones?

Matty suggested I add a bridge with water.  I figured the dam and reservoir might be useful.

Sunday, August 2, 2015

Old School Dungeon Map

Another old school dungeon map based on Dyson's style of mapping.


To create this map I made some specialty graph paper where I loaded a grid pattern into Photoshop and then made in image where copied the grid and rotated it at several different angles.  I then printed out the new graph paper and drew the dungeon map on that graph.  This is the same room sequence as my previous 27 room 3D dungeon, the rooms are just in different positions.

Below is an example of a random starting grid for mapping.

Here is another sheet with all same size grids but different angles:


Wednesday, July 29, 2015

Another New Dungeon Map

This one is done in a similar style to the last one.

New Dungeon Map

I wrote a new dungeon map inspired by some online mappers like Dyson's Dodecahedron.

(scan)


Gnolls

Gnolls (1-9)

Gnoll hunting party consists of 2 rogue scouts, 2 fighter archers and 1 savage barbarian.

  1. Tunnel entrance.  2 gnoll guards.  If an enemy is spotted one will go inside to warn the others.
  2. Animal room.  1 gnoll beast-master ranger
  3. Guards.  4 gnoll guards
  4. Common room.  10 gnolls + young gnolls
  5. Chieftains room. 1 Flind, 2 gnoll pole-arm master body guards, 4 gnoll fighters
  6. Store room.  Gnoll shaman.  The passage leading west is blocked by stone.
  7. Prison.  Gnoll guard
  1. Bugbear prisoner
  2. Doppelgänger prisoner
  3. Dryad prisoner
  1. Weapon storage
  2. Giant Centipede.  The entrance to this tunnel is blocked by stone.  This is a strange tube like tunnel.  Close inspection may reveal many claw marks along the edges of this tunnel.

Derro CR 3 (10-15)

  1. Pit trap with net for capturing victims
  2. Guardroom 2 Derro
  3. Derro (2)
  4. Laboratory, Derro alchemist
  5. Leader Room.  Derro leader, bodyguard
  6. Derro Cave Druid, Medium spiders

Skum CR 2 (16-21)


  1. Pool room.  2 skum are lurking below the surface in the pool.  The stream flows to room 17.
  2. Leech Pool.  There is a leech swarm and a giant leach in this pool.  There is a skum in this room.
  3. Bone Room
  4. Skum thug
  5. Skum aquatic sorcerer
  6. Tiefling leader with skum guards

Saturday, August 16, 2014

Dragon's Lair in Photoshop

This is an update to my Dragon's Lair I posted in one of my first posts.  This one is rendered in Photoshop.


Tuesday, July 3, 2012

Kobolds and Minotaur


I updated this on 7/14/2014.  This is a minotaur labyrinth with a kobold stronghold in the beginning.   This is a straight dungeon crawl without all the fancy stuff.  The red marks indicate the position of an adventuring party that went through the labyrinth.  At each corner I would suggest they could go either left or right.  There is typically a confusion spell on the labyrinth.  Occasionally there could be shifting walls or teleporters to mess the players up a bit.  Kobolds are typically armed with crossbows or half-spears.

Here are the rooms for the dungeon crawl:

1. Guard room.  The door to this room is false with a murder hole in the door.  The actual door is secret and to the right of the false door.  There are 3 kobolds in this room.  Two will fight while one sounds a cow horn then runs to warn the others in the common room (3).  Before this room is a pit trap 1d6 damage to any who fall in it Dex DC 15 save.  The kobolds use a secret switch to disable the trap when they want to cross.  The switch is in the guard room.  The door to the west leads to the kobold common room, the stairs to the north lead down to armory and weapons storage.  There is a murder hole in the door.  Guards will usually be watching for intruders 75% chance.  The guards have a firery red potion of healing.  Although it burns going down it cures light wounds (1d8+1)

2. Armory.  This room is used to store weapons the kobolds use when going on raids.  There are many common crudely made weapons here and some armor.  Adjust to match your party's needs.  The stairs to the south lead up to the kobold guard room.  There is a secret door or concealed passage (DC 15) in the back of this room.  The kobolds are unaware of this but have been wondering why there weapons placed in this corner have been deteriorating extra fast.  Actually due to the rust monster who has tunneled here and grabs weapons to feed.  A perception check DC 15 will notice the large quantity of badly corroded weapons in this area and piles of rust on the floor.  There is one masterwork cross bow here.

3. Common room.  There are 10 kobolds here and 4 weasels trained by the kobolds to fight intruders.  The door to the east leads to the kobold guard room.  The door to the west leads to the kobold dining hall.  Use these to make up lost parties of kobolds.  These kobolds have 30 gp total hidden under piles of rags and 3 firey red potions of healing.

4. Dining Hall  There are 6 kobolds in this room feasting and drink at some of the large tables in this hall.  The door to the north leads down to the storage room.  The door to the west leads down to the inner kobold warrens.  The door to the east leads to the kobold common room.  These kobolds have 2 firey red potions of healing and a gold ring worth 10 gp, as well as 20 gp.

5. Storage room.  This storage area has stores of food and drink such as is common among kobolds.  It includes some rations suitable for adventurers as well as less savory items.

6. Pet area.  The passage leading to this room from outside is a trap.  This steeply sloped passage is wet and muddy.  Anyone walking down it in the center must make a Dex save DC 15 or slip down the shoot and come into this room prone.  Anyone trying to exit this room must make a climb check DC 20 to get out.  There are carefully placed stones along the edges of this passage which allow the kobolds to climb out of here.  The stones can be detected on a perception check DC 17. This area has a black bear, 2 giant weasels and 4 kobolds.  The weasels are trained to defend the lair from intruders.  The black bear has been captured but has not been trained.  The kobolds herd it with their spears and try to get it to attack the party.  To the south is a sloped ramp going up to the cave entrance.  A concealed path leads through the dense foliage on the edge of the hill side.  To the north is  a double door leading to the inner kobold warrens.  If the bear becomes 50% damaged or more it will attack anyone within reach at random including kobolds or weasels.  The kobolds have two firery red potions of healing.  One of the kobolds in this area has a key to the doors to the north.

To the north are large iron double doors that are locked (DC 20).

7. Small room A.  There are two kobolds in this room.  There is a small dais in this room.  The passage to the north leads to the inner kobold warrens.  There is a secret door in this room which leads to the food storage area.  Some kobolds have recently made this passage to sneak extra food rations when times are tight.  There is some mining equipment in the corner.  A secret compartment in the dais holds a potion of bull’s strength (unknown to the kobolds)

8. Small room B.  There are 2 kobolds in this room.  The passage south leads to the inner kobold warrens.  The passage east leads to a second bear den.

9. Weasel training room.  This room has 4 weasels that have not yet been trained however they are hostile to any one who gets between them and freedom.  The door to the south leads to the inner kobold warrens.

10. Bear den 2.  There is a black bear and 3 kobolds in this room.  The passage to the west leads to the inner kobold warrens.  This bear is partially trained and will defend respond to the kobolds commands but if it takes 50% damage it will become enraged as 6.  There is a secret door on the east wall that is unknown to the kobolds DC 20 that leads to the lair of the rust monster.

11. Rust Monster Tunnel.  There is a rust monster in this room.  It has been tunneling around this area.  It has recently opened up a small passage into the kobold armory where it has been feeding on any armor that is put into the NE corner.  It has also explored to the point of the bear den but did not find any food there.  There is a rock cave-in in the NW passage that could possibly be cleared.
12. Kobold Leader.  This is the kobold leaders room.  There are 6 kobolds in this room.  The 1 leader who fights as 3rd level sorceress a kobold named Kreela and 4 body guard kobolds with 1 full HD and 8 hp each.  They fight with masterwork crossbows and have masterwork studded leather armor, they also have potions of cure moderate wounds.  Two of the body guards are riding fully trained black bears.

There are two additional kobolds pounding drums to draw the minotaur to the sacrifice.  There is a crude altar adorned with a bull’s head in this room.  The secret door to the east is used to provide sacrifices to the minotaur who the kobolds worship as a god.  The passage to the west leads to the dungeon.  The passage south is a sloped passage leading up to the inner kobold warrens.  If the Minotaur is encountered here he will attempt to escape into the labyrinth.  The treasure of the kobolds is in this room: Kreela wears a  pearl necklace worth 300 gp.  Kreela uses a magic missile wand with 10 charges before casting spells.

13. Dungeon.  This room is the dungeon where captives and sacrifices to the minotaur are kept until they are either ransomed or sacrificed.  Any PCs who are captured will likely end up in this room.  Mari the farmer’s daughter is currently held prisoner here, as well as a captured rogue, a goblin, and a captured gnome.  Fimble is a potion maker and merchant who was captured on the road.  The goblin has a treasure map to the dragon’s lair.  He was traveling from a different tribe of goblins to make contact with the dragon’s tribe when he was captured by kobolds.

14. Labyrinth.  Anyone entering this area will feel very dizzy and must make a Will save DC 17 or fall unconscious for 1d4 rounds.  During this time the walls will shift to separate the party.  This maze has a confusion spell cast on it so directions are given as either left or right at each intersection.  There are frequent encounters with giant rats in this area.

15. Minotaur Lair.  This is the lair of the minotaur.  His treasure is in a chest with a sleeping gas effect and a siren if the trap is not disabled.  Inside are the following: Potions of invisibility, sleep, cat’s grace, spider climb, 500 gp.  The Minotaur carries a +1 huge great axe (Atk +10/+5 Dam 2d8+5) and has a cure moderate wounds potion which he will drink if severely wounded.  The minotaur will charge any who enter his lair for 4d6+6.  He could also gore Atk +4/Dam 1d8+2.